Find Space
Find a Location
Partners
Resources
GBP
020 3808 7222
Enquire Now
Office Type
Price
Desks
Amenities
Sale
Home
United Kingdom
sutton coldfield
Office Space in sutton coldfield
415 Office Spaces for Lease in Sutton coldfield, , United Kingdom
Showing 1 - 40 out of 415 spaces
Sort by: Best Match
Previous slide
Next slide
Compare
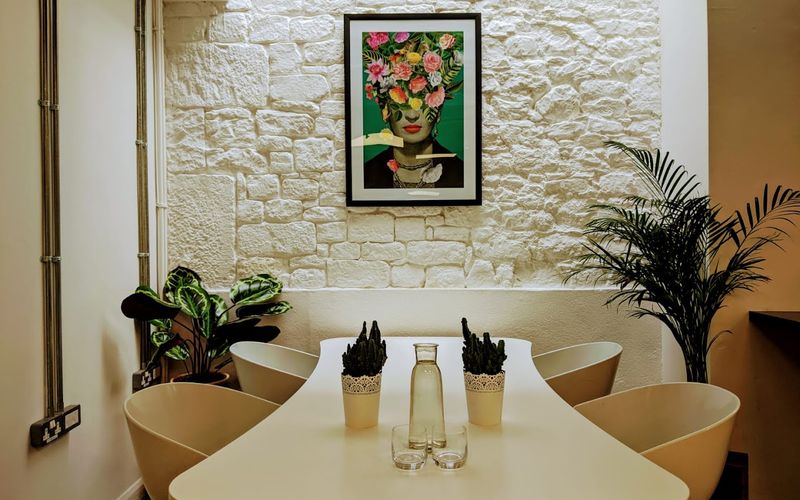
The Generator Quay House
Kings Wharf, Exeter
1 DESK
COWORKING
(B) The Mount • 1 mins walk
(T) St James Park • 11 mins walk
£225
/mo
24 other options (1-20 desks)
Enquire
Previous slide
Next slide
Compare
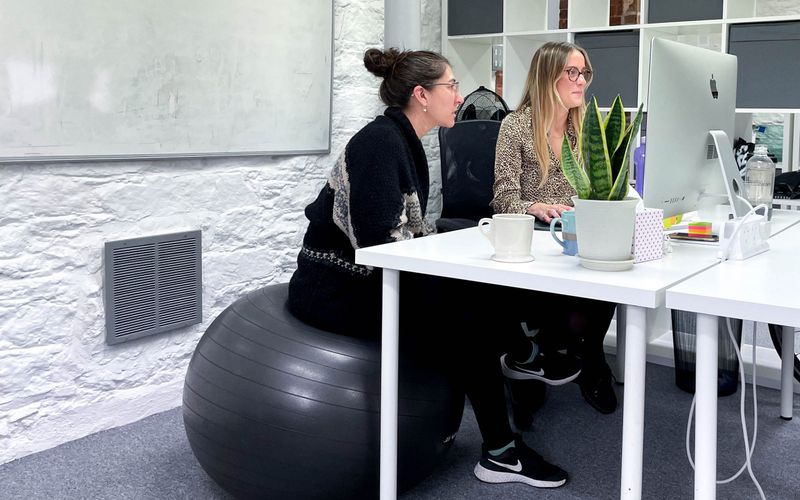
Corn House
Marshgate Lane, London
7 DESKS
COWORKING
(B) Pudding Mill Lane • 5 mins walk
(T) Hackney Wick • 16 mins walk
£1,400
/mo
24 other options (1-85 desks)
Enquire
Previous slide
Next slide
Compare
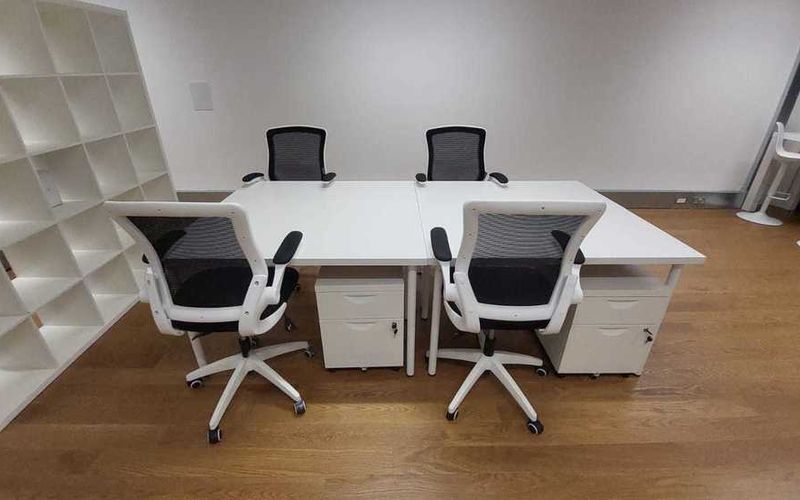
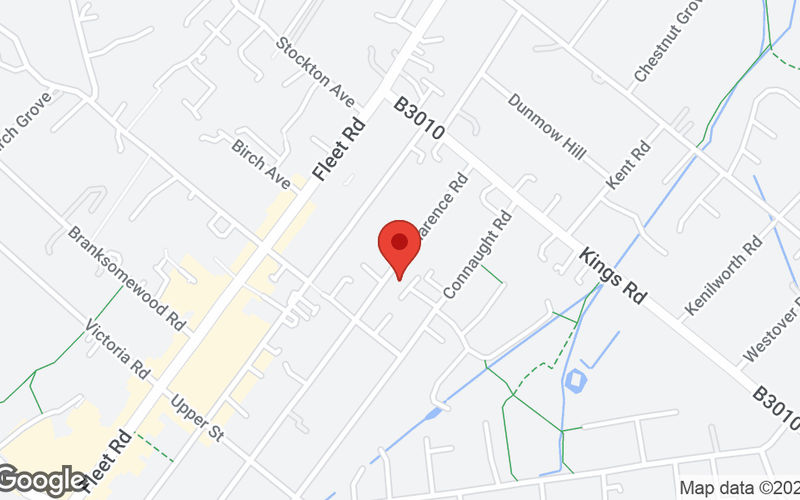
51 Clarence Rod
51 Clarence Rod, Fleet
2 DESKS
COWORKING
(B) Church Road • 4 mins walk
(T) Fleet • 14 mins walk
£826
/mo
3 other options (1-4 desks)
Enquire
Previous slide
Next slide
Compare
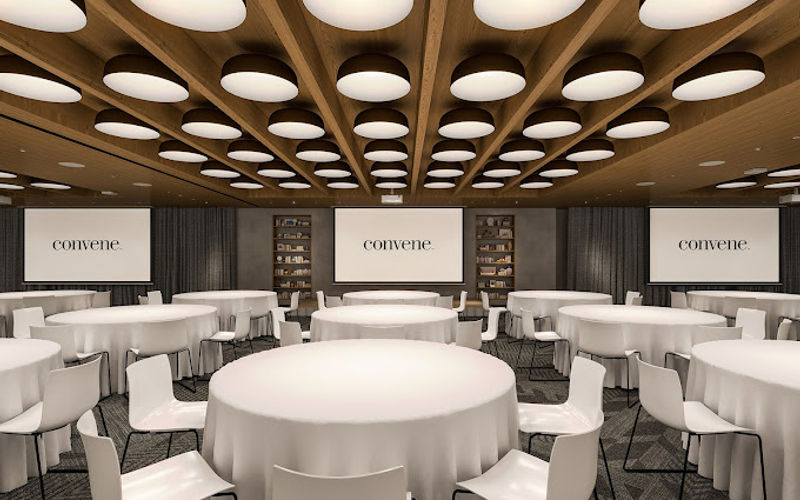
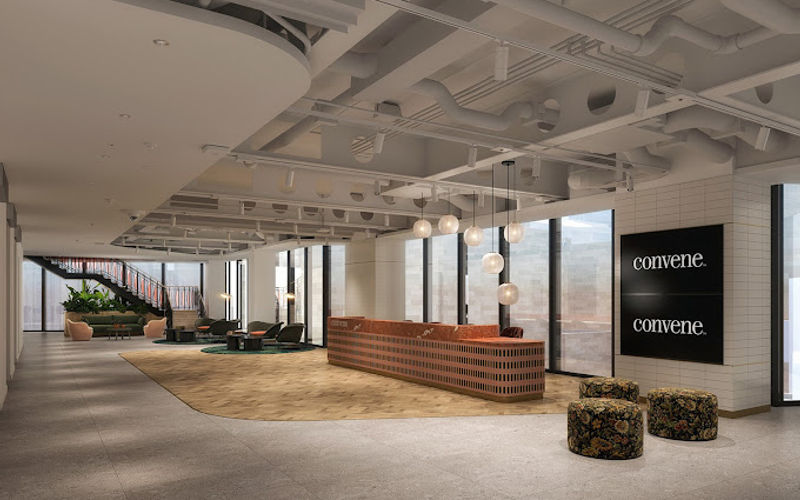
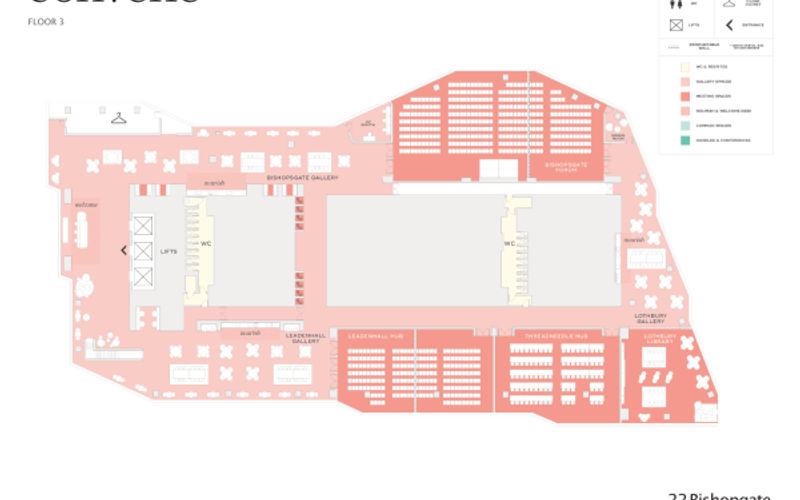
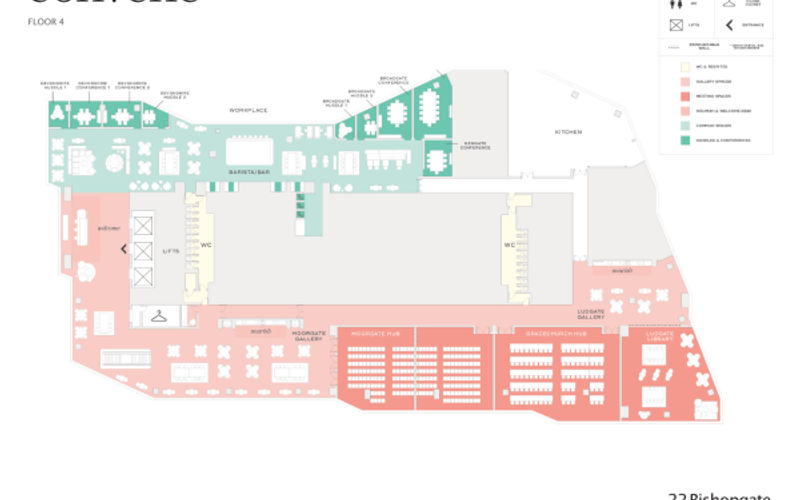
22 Bishopsgate
22 Bishopsgate, Greater London
2 DESKS
COWORKING
(B) Threadneedle Street (Stop LN) • 1 mins walk
(T) Liverpool Street • 4 mins walk
£650
/mo
5 other options (1-8 desks)
Enquire
Previous slide
Next slide
Compare
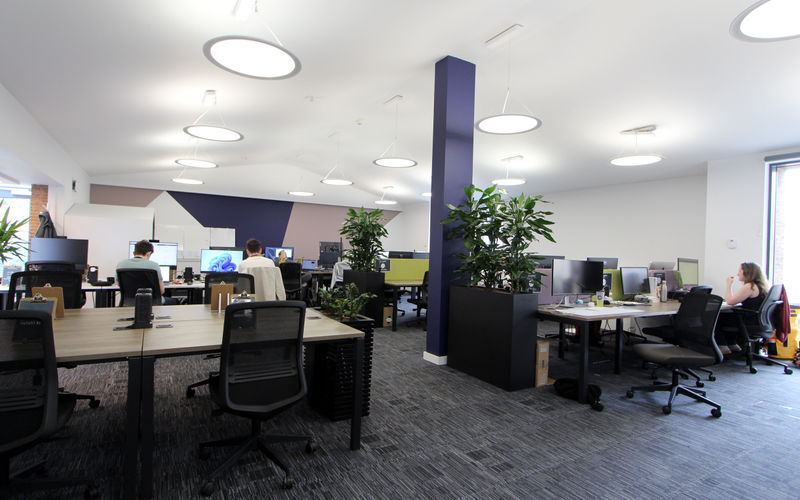
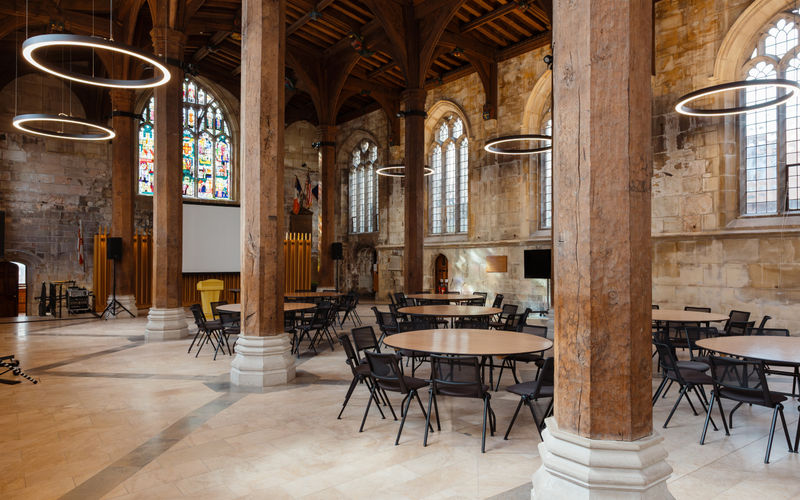
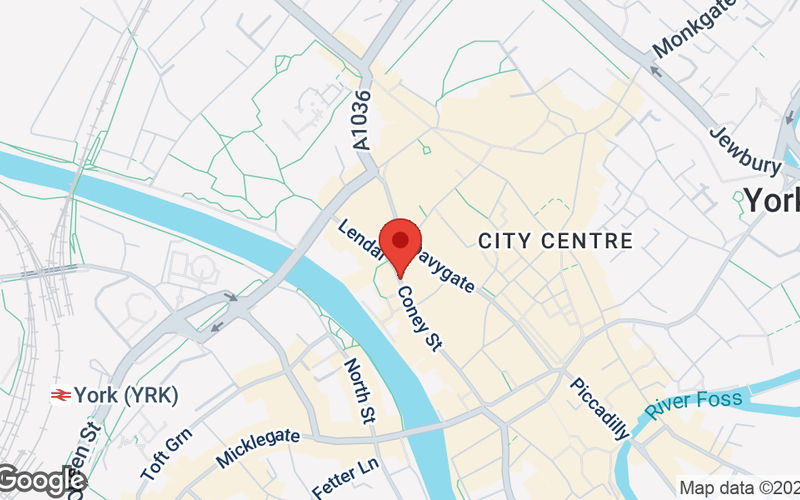
The Guildhall
Coney Street, York
4 DESKS
COWORKING
(B) Museum Street • 3 mins walk
(T) York (YRK) • 9 mins walk
£1,092
/mo
5 other options (1-5 desks)
Enquire
Previous slide
Next slide
Compare
Beyond - Aldgate Tower
2 Leman Street, Greater London
1 DESK
COWORKING
(B) Aldgate East tube station • 1 mins walk
(T) Aldgate East • 1 mins walk
£350
/mo
10 other options (1-80 desks)
Enquire
Previous slide
Next slide
Compare
58 Wood Lane
58 Wood Lane, White City
3 DESKS
COWORKING
(B) White City Tube Station • 1 mins walk
(T) Wood Lane • 4 mins walk
£894
/mo
5 other options (1-5 desks)
Enquire
Previous slide
Next slide
Compare
Reliance Wharf
Reliance Wharf, London
5 DESKS
COWORKING
(B) Laburnum Street (Stop KD) • 3 mins walk
(T) Haggerston • 6 mins walk
£1,470
/mo
10 other options (1-10 desks)
Enquire
Previous slide
Next slide
Compare
Cannon Green
27 Bush Lane, Greater London
1 DESK
COWORKING
(B) London Cannon Street Station • 1 mins walk
(T) Cannon Street • 1 mins walk
£295
/mo
7 other options (1-18 desks)
Enquire
Previous slide
Next slide
Compare
Worship Square
65 Clifton Street, London
4 DESKS
COWORKING
(B) Clifton Street Car Park • 3 mins walk
(T) Liverpool Street • 8 mins walk
£1,600
/mo
9 other options (1-56 desks)
Enquire
Previous slide
Next slide
Compare
34b York WAY
34b York Way, London
5 DESKS
COWORKING
(B) Wharfdale Road / London Canal Museum • 2 mins walk
(T) King's Cross St. Pancras • 4 mins walk
£1,975
/mo
5 other options (1-5 desks)
Enquire
Previous slide
Next slide
Compare
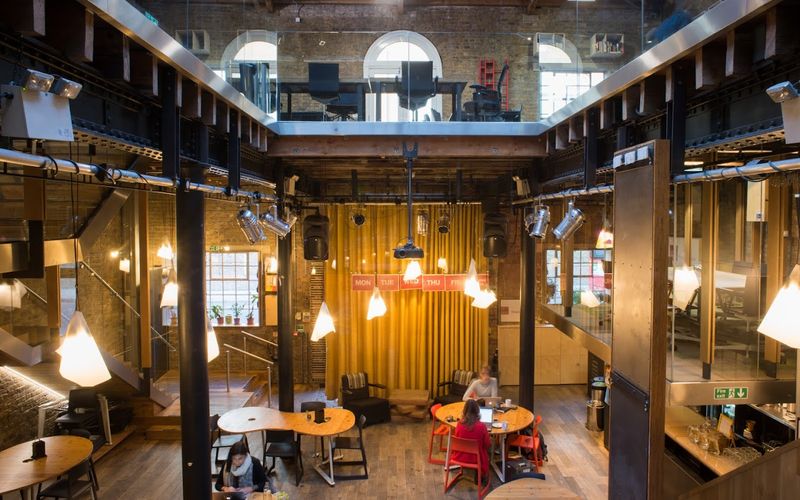
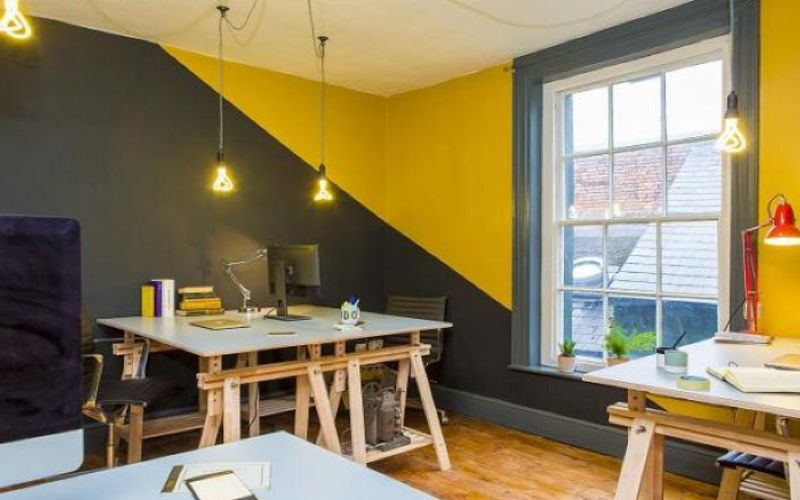
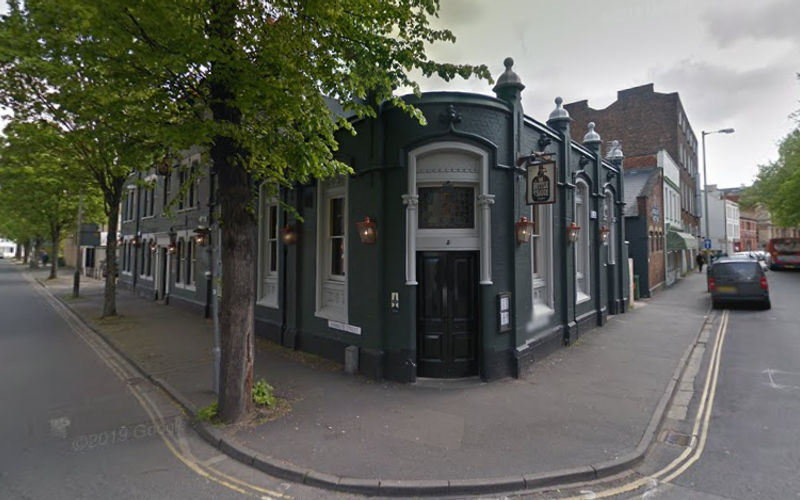
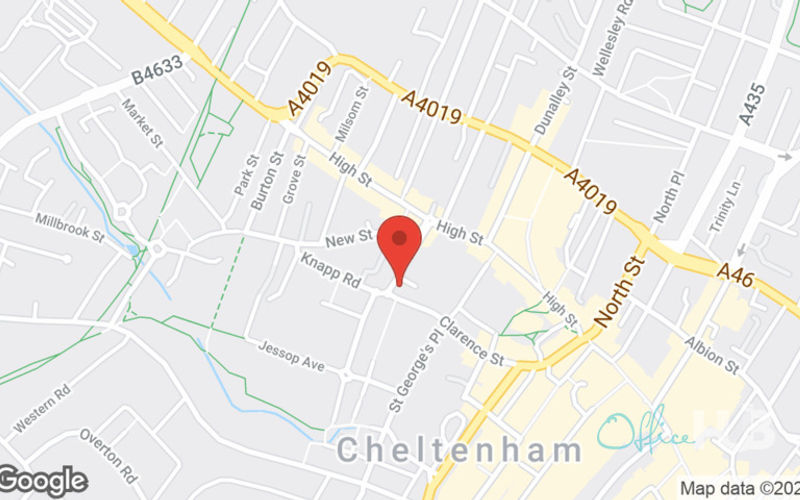
DoDo Works
7 Ambrose Street, Cheltenham
1 DESK
COWORKING
(B) St James's House • 2 mins walk
(T) Cheltenham Spa • 20 mins walk
£299
/mo
1 other options (1-1 desks)
Enquire
Previous slide
Next slide
Compare
East Ham Business Centre
182-184 High Street North, East Ham
1 DESK
COWORKING
(B) East Ham • 2 mins walk
(T) East Ham • 2 mins walk
£60
/mo
5 other options (1-4 desks)
Enquire
Previous slide
Next slide
Compare
Bournemouth Aviation Park West
Target Road, Christchurch
4 DESKS
COWORKING
(B) Commercial Road • 7 mins walk
(T) Pokesdown • 116 mins walk
£360
/mo
20 other options (1-20 desks)
Enquire
Previous slide
Next slide
Compare
Millbank Tower
21-24 Millbank, Westminster
5 DESKS
COWORKING
(B) Tate Britain Millbank Millennium Pier (Stop N) • 1 mins walk
(T) Pimlico • 10 mins walk
£2,500
/mo
6 other options (1-30 desks)
Enquire
Previous slide
Next slide
Compare
Worship Square
65 Clifton Street, London
1 DESK
COWORKING
(B) Clifton Street Car Park • 3 mins walk
(T) Liverpool Street • 8 mins walk
£400
/mo
9 other options (1-56 desks)
Enquire
Previous slide
Next slide
Compare
Thorncroft Manor
Thorncroft Manor, Leatherhead Surrey
1 DESK
COWORKING
(B) Church Road Car Park • 10 mins walk
(T) Leatherhead • 18 mins walk
£300
/mo
5 other options (1-12 desks)
Enquire
Previous slide
Next slide
Compare
Epsom Square
Epsom High Street, Epsom
1 DESK
COWORKING
(B) High Street • 1 mins walk
(T) Epsom • 5 mins walk
£300
/mo
8 other options (1-10 desks)
Enquire
Previous slide
Next slide
Compare
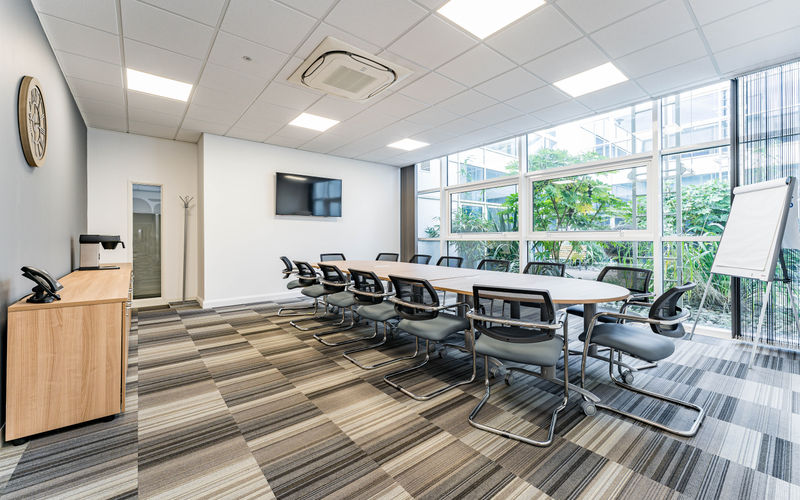
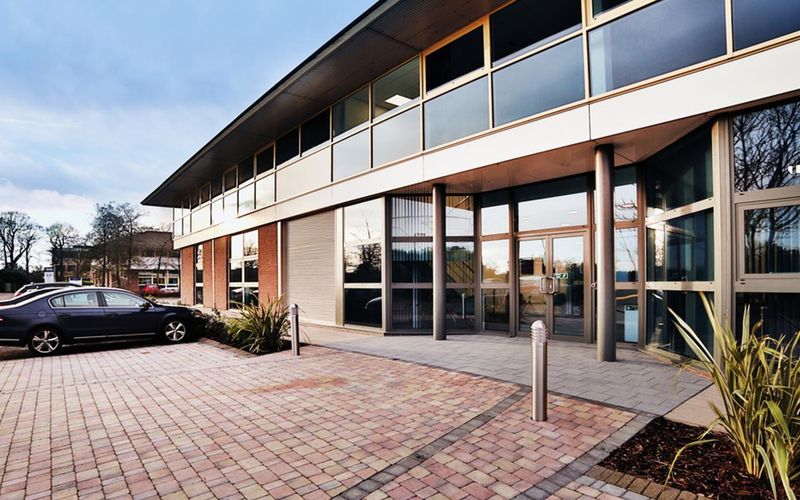
Birmingham Business Park
1310 Solihull Parkway, Solihull
2 DESKS
COWORKING
(B) Knights Court • 2 mins walk
(T) Prologis Park Birmingham Interchange • 13 mins walk
£498
/mo
14 other options (1-11 desks)
Enquire
Previous slide
Next slide
Compare
40 Bank Street
40 Bank Street, Canary Wharf
1 DESK
COWORKING
(B) Canary Wharf Station (Stop K) • 2 mins walk
(T) Canary Wharf • 3 mins walk
£127
/mo
8 other options (1-8 desks)
Enquire
Previous slide
Next slide
Compare
The Nest Co-Working Space
2-4 Sampson Street, Greater London
20 DESKS
COWORKING
(B) Sampson Street • 1 mins walk
(T) Wapping • 7 mins walk
£8,700
/mo
8 other options (1-50 desks)
Enquire
Previous slide
Next slide
Compare
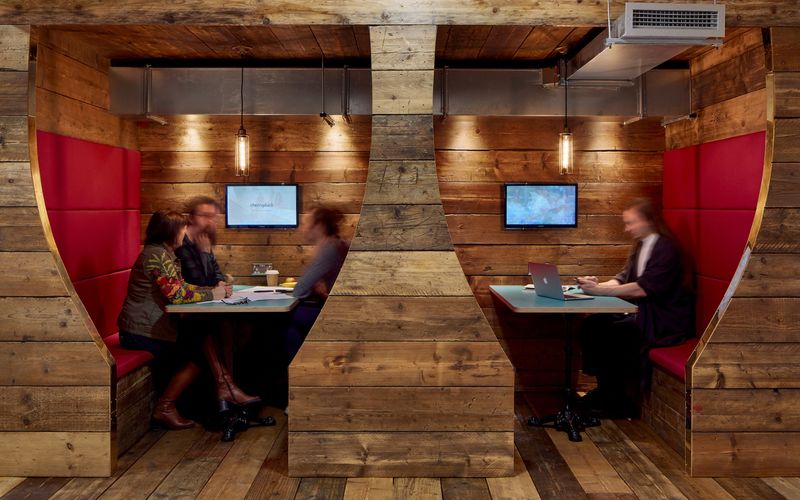
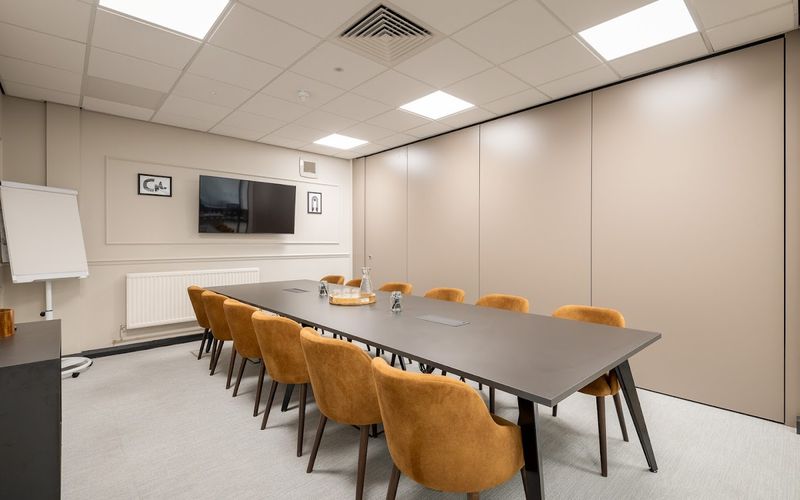
Spaces Euston Road
307 Euston Road, London Nw1 3ad
1 DESK
COWORKING
(B) Warren Street Station (Stop KA) • 4 mins walk
(T) Warren Street • 1 mins walk
£309
/mo
1 other options (1-1 desks)
Enquire
Previous slide
Next slide
10% OFF
Compare
Jubilee House,
Third Avenue, Marlow
1 DESK
COWORKING
(B) Marlow • 7 mins walk
(T) Marlow • 10 mins walk
£178
/mo
was £198 /mo
Enquire
Previous slide
Next slide
Compare
Winckley Square
33-34 Winckley Square, Preston
3 DESKS
COWORKING
(B) Preston Railway Station • 6 mins walk
(T) Preston • 6 mins walk
£585
/mo
5 other options (1-5 desks)
Enquire
Previous slide
Next slide
Compare
Corn House
Marshgate Lane, London
19 DESKS
COWORKING
(B) Pudding Mill Lane • 5 mins walk
(T) Hackney Wick • 16 mins walk
£3,800
/mo
24 other options (1-85 desks)
Enquire
Previous slide
Next slide
Compare
Reliance Wharf
Reliance Wharf, London
2 DESKS
COWORKING
(B) Laburnum Street (Stop KD) • 3 mins walk
(T) Haggerston • 6 mins walk
£588
/mo
10 other options (1-10 desks)
Enquire
Previous slide
Next slide
Compare
60 Derby Road
60 Derby Road, Nottingham
5 DESKS
COWORKING
(B) Cathedral (Stop Y4) • 1 mins walk
(T) Nottingham • 17 mins walk
£875
/mo
12 other options (1-12 desks)
Enquire
Previous slide
Next slide
Compare
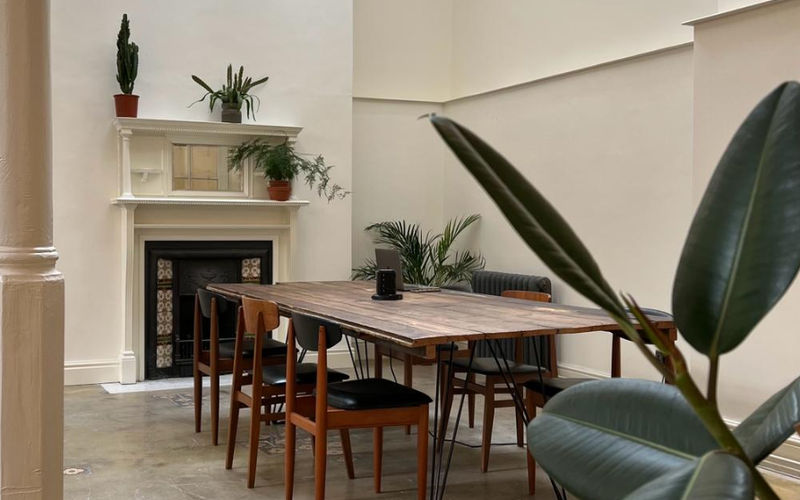
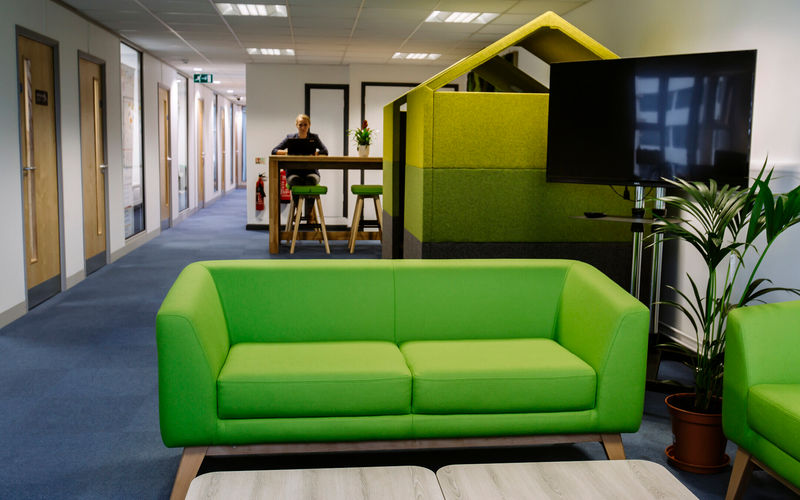
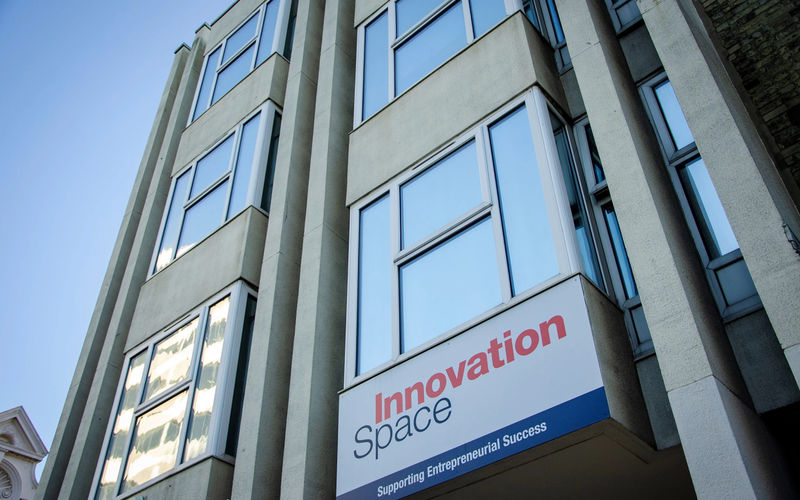
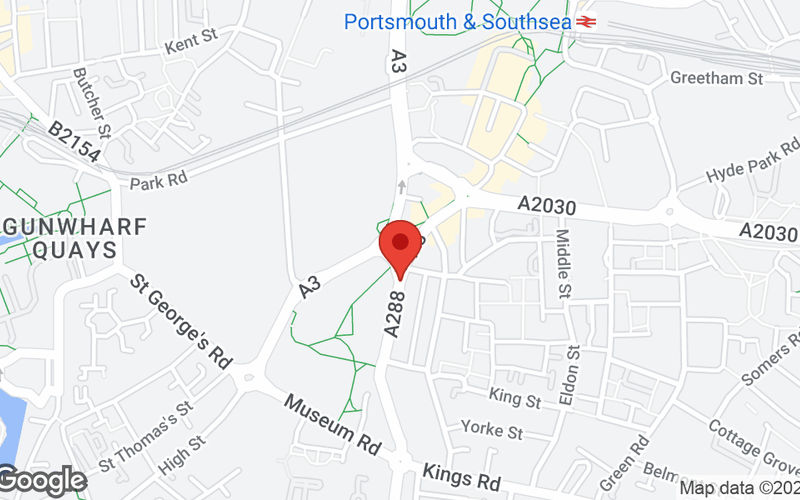
Innovation Connect - Halpern House
Hampshire Terrace, Portamouth
5 DESKS
COWORKING
(B) University of Portsmouth • 2 mins walk
(T) Portsmouth & Southsea • 9 mins walk
£475
/mo
10 other options (1-10 desks)
Enquire
Previous slide
Next slide
Compare
The Shepherdess
163 City Road, Hoxton
1 DESK
COWORKING
(B) Moorfields Eye Hospital (Stop P) • 1 mins walk
(T) Old Street • 4 mins walk
£314
/mo
13 other options (1-34 desks)
Enquire
Previous slide
Next slide
Compare
Tramshed Tech Palace
156 High Street Prince Of Wales Road, Swansea
2 DESKS
COWORKING
(B) Dyfatty • 2 mins walk
(T) Swansea • 3 mins walk
£166
/mo
3 other options (1-3 desks)
Enquire
Previous slide
Next slide
Compare
Stratford
11 Burford Road, Greater London
5 DESKS
COWORKING
(B) Carpenters Road / Stratford High Street (Stop J) • 3 mins walk
(T) Stratford • 6 mins walk
£1,275
/mo
7 other options (1-18 desks)
Enquire
Previous slide
Next slide
Compare
Trafalgar House
Juniper Drive, London
10 DESKS
COWORKING
(B) Petergate (Stop TN) • 1 mins walk
(T) Wandsworth Town • 6 mins walk
£3,500
/mo
1 other options (1-10 desks)
Enquire
Previous slide
Next slide
Compare
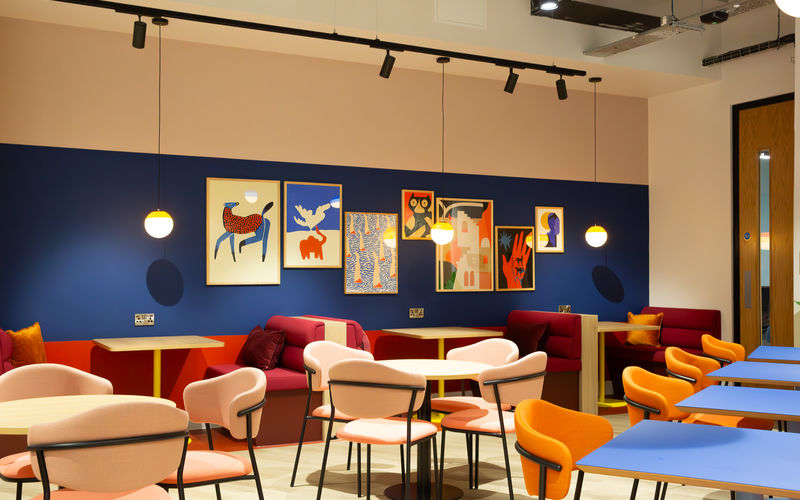
Arca Building
55 Temple Row, Birmingham
27 DESKS
COWORKING
(B) Corporation Street • 1 mins walk
(T) Birmingham Snow Hill • 5 mins walk
£10,665
/mo
4 other options (1-27 desks)
Enquire
Previous slide
Next slide
Free Parking
Compare
Hartlepool Business Centre, Advanced House,
Wesley Square, Hartlepool
1 DESK
COWORKING
(B) Victoria Road - Grand Hotel • 1 mins walk
(T) Hartlepool • 4 mins walk
£123
/mo
was £140 /mo
Enquire
Previous slide
Next slide
Compare
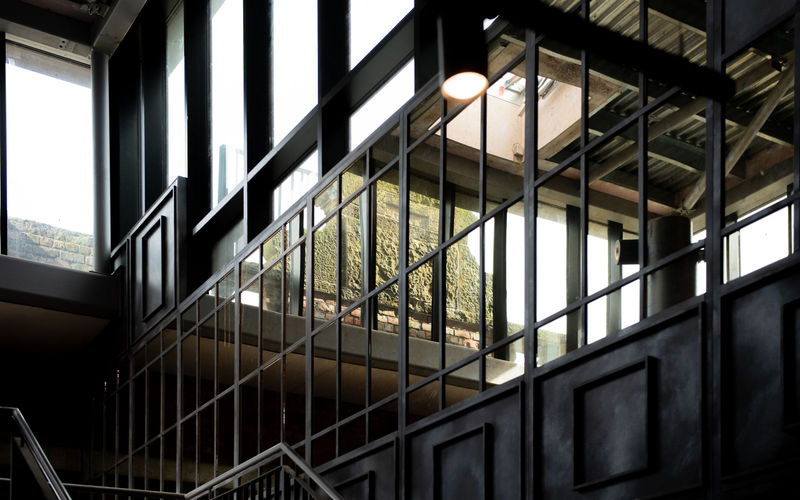
Mill 1
Swan Meadow Road, Greater Manchester
2 DESKS
COWORKING
(B) Pottery Road • 2 mins walk
(T) Wigan North Western • 10 mins walk
£450
/mo
14 other options (1-15 desks)
Enquire
Previous slide
Next slide
Compare
Reliance Wharf
Reliance Wharf, London
3 DESKS
COWORKING
(B) Laburnum Street (Stop KD) • 3 mins walk
(T) Haggerston • 6 mins walk
£882
/mo
10 other options (1-10 desks)
Enquire
Previous slide
Next slide
Sign 06 get 1 month FREE
Compare
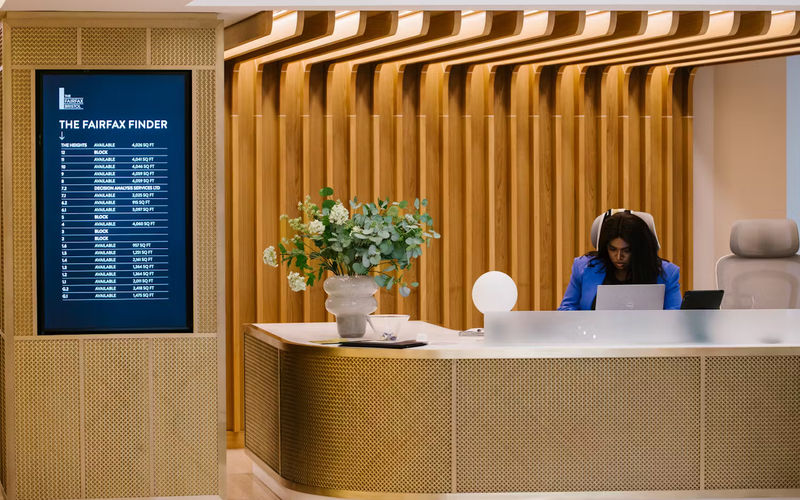
The Fairfax
Fairfax Street, Bristol
3 DESKS
COWORKING
(B) Wine Street • 1 mins walk
(T) Bristol Temple Meads • 16 mins walk
£625
/mo
was £750 /mo
Enquire
Previous slide
Next slide
Compare
Reliance Wharf
Reliance Wharf, London
10 DESKS
COWORKING
(B) Laburnum Street (Stop KD) • 3 mins walk
(T) Haggerston • 6 mins walk
£2,940
/mo
10 other options (1-10 desks)
Enquire
Previous slide
Next slide
Compare
Broxhead House
60 Barbados Rd, Bordon
1 DESK
COWORKING
(B) The Phoenix Theatre • 4 mins walk
(T) Bentley • 90 mins walk
£185
/mo
5 other options (1-5 desks)
Enquire
Previous slide
Next slide
Compare
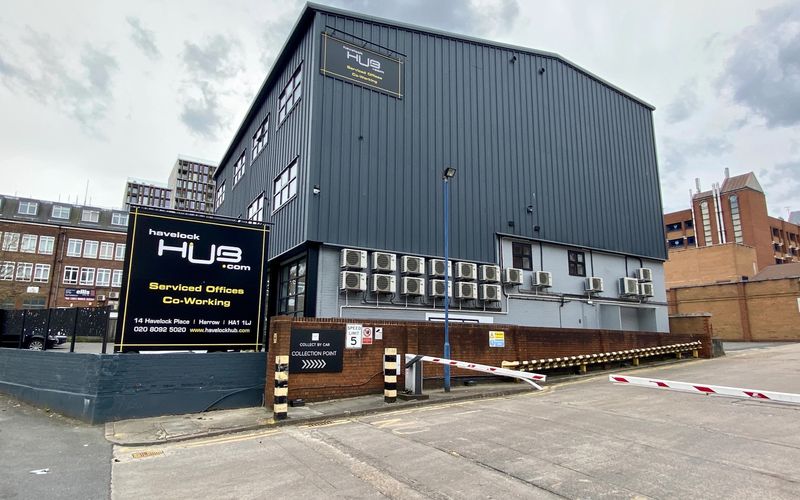
14 Havelock Pl
14 Havelock Pl, Harrow
1 DESK
COWORKING
(B) Harrow Town Centre • 3 mins walk
(T) Harrow on the Hill • 6 mins walk
£200
/mo
5 other options (1-10 desks)
Enquire
Previous
1
2
More pages
11
Next


-England-Exeter-Kings-Wharf-4017455.jpg)


-London-London-10-Marshgate-Lane-1923500.jpg)


-England-Greater-London-2-Leman-Street-3965074.jpg)


-London-White-City-58-Wood-Lane-3967020.jpg)


-England-Greater-London-27-Bush-Lane-3959286.jpg)


-London-East-Ham-182-184-High-Street-North-3967870.jpg)


-England-East-Parley-Target-Road-3854569.jpg)


-London-Westminster-21-24-Millbank-4050373.jpg)


-England-Leatherhead-Surrey-Thorncroft-Manor-3134863.jpg)


-Surrey-Epsom-Epsom-High-Street-1867865.jpg)


-Birmingham-Solihull-1310-Solihull-Parkway-1980164.jpg)

-Birmingham-Solihull-1310-Solihull-Parkway-1980176.jpg)
-Birmingham-Solihull-1310-Solihull-Parkway-1980140.jpg)
-Birmingham-Solihull-1310-Solihull-Parkway-1980104.jpg)

-Birmingham-Solihull-1310-Solihull-Parkway-1980116.jpg)

-Birmingham-Solihull-1310-Solihull-Parkway-1980068.jpg)

-Birmingham-Solihull-UBCUK-1310-Solihull-Parkway-Birmingham-Business-Park-1088588.jpg)


-United-Kingdom-London-NW1-3AD-307-Euston-Road-1540233.jpg)
-United-Kingdom-London-NW1-3AD-307-Euston-Road-1540234.jpg)
-United-Kingdom-London-NW1-3AD-307-Euston-Road-1540240.jpg)
-United-Kingdom-London-NW1-3AD-307-Euston-Road-1540237.jpg)
-United-Kingdom-London-NW1-3AD-307-Euston-Road-1540238.jpg)
-United-Kingdom-London-NW1-3AD-307-Euston-Road-1540236.jpg)
-United-Kingdom-London-NW1-3AD-307-Euston-Road-1540235.jpg)
-United-Kingdom-London-NW1-3AD-307-Euston-Road-1540239.jpg)
-United-Kingdom-London-NW1-3AD-307-Euston-Road-1540232.jpg)
-United-Kingdom-London-NW1-3AD-307-Euston-Road-1540601.jpg)


-Buckinghamshire-Marlow-Third-Avenue-3801440.jpg)
-Buckinghamshire-Marlow-Third-Avenue-3801439.jpg)


-England-Hoxton-163-City-Road-3986985.jpg)


-England-Greater-London-11-Burford-Road-3963426.jpg)


-England-Bordon-60-Barbados-RD-4015430.jpg)


-Harrow-Harrow-14-Havelock-PL-4035655.jpg)